New article
Recently updated
Using Bookmarks on a Report

The sections below provide guidance on adding Bookmarks to your Report.
General Notes:
When adding a Bookmark to a report the following should be considered:
- The Bookmark can be added to any Control within your Report (e.g. Label, Text Box, Table etc)
- The Bookmark should ease the navigation of the report, hence is not usually required for single page reports.
- The Bookmark should be named effectively ensuring the user understands which part of the report is it associated with
- When using Repeating Collections, e.g. Document Approval Items, or CAPA Stages, the Bookmark should be added in a Group Header/Footer, to prevent repetition of the Bookmark
Adding the Bookmark
To add a Bookmark:
- Open your chosen Report in Report Designer (Design Mode)
- Select an existing Control, or add a new Control (e.g. Label Box) to your desired Report Section
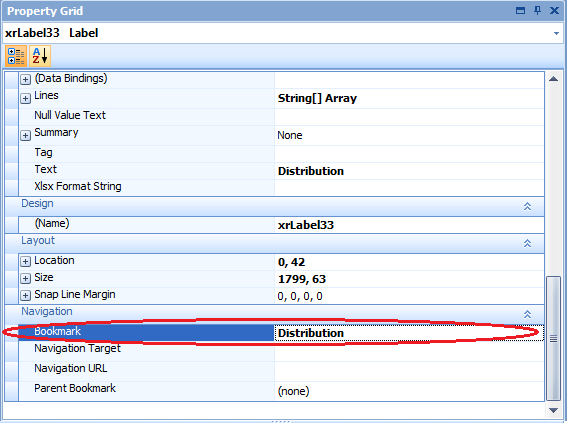
- With the Control Selected, browse to the Navigation Section of the Properties Grid
- Enter a name for the Bookmark (E.g. "Distribution" for this Document Details Report)
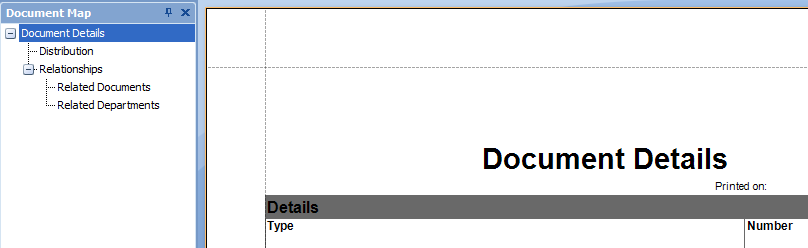
- You'll now see that the Bookmark is available when in Print Preview Mode

Note: The "Document Details" root name corresponds to the name of your chosen Report
Organising the Hierarchy
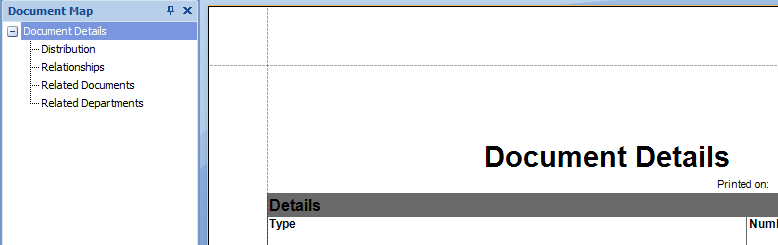
When your report has many sections, and subsections it makes sense to organise your bookmarks into a parent-child structure.
This provides easier readability and navigation on the Previewed or exported Report.
The steps below describe how to add a bookmark for the 'Relationship' section of the Document, and it's subsections:
- Add Bookmarks using the steps above for each of the desired Sections, E.g. Relationships, Related Documents, Related Departments
- In Design Mode, Select the Bookmark you wish to be the Parent (e.g. Relationships)
- Note the 'Design Name' in the Property Grid

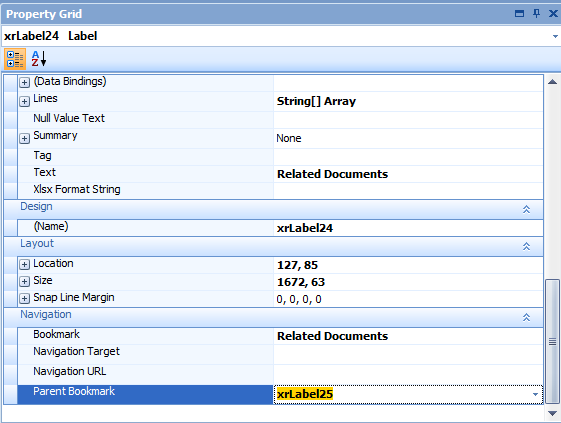
- Select the Child Bookmark (e.g. Related Documents & Related Departments)
- In the Property Grid select the Parent Bookmark, which listed by the Design Name noted in step 3
- Your Bookmarks will now be displayed with hierarchy