
New article
Recently updated
How to Display All Approval Cycles on a Document Report

- In the Report Explorer on the right hand side, right click on the report title and select [Insert Detail Report], then [Approval Cycles].
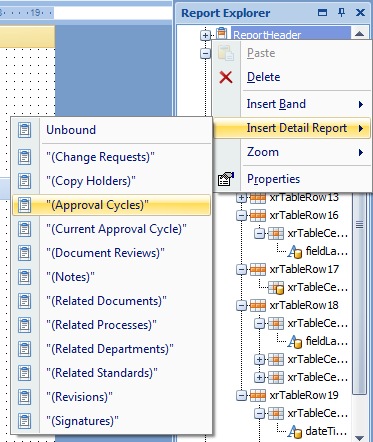
This will add a band to the report called “Approval Cycles”.
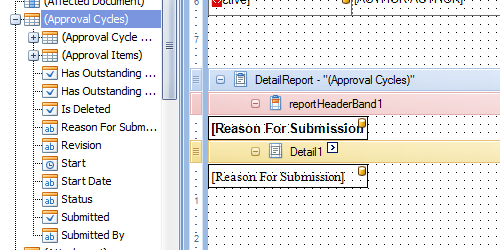
- From the design view of the report, browse to the “Approval Cycles” band.
- This band can contain information such as the reason for submission, status and date of submission, and will loop to show this information for each approval cycle shown in the approval history. This band will also contain a default table of fields.
- Remove any default fields that are not required. You can also edit this band with any additional fields required by dragging and dropping fields from the field list. These fields should be obtained from the “Approval Cycles” list.
- To add a label, expand the toolbox to show the “Special Fields” and then drag and drop a Field Label into the Header band.
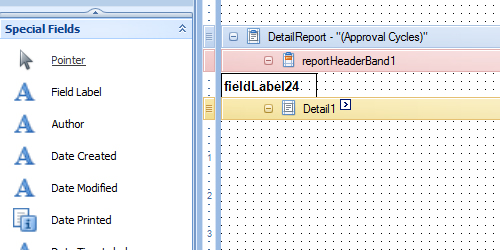
- Once in place, drag and drop the field from the field list and into the field label.
Repeat this process until all fields and labels are in place. N.B. To make the report easier to follow, you may wish to consider limiting the approval cycles fields and adding both the fields and the field labels to the Detail band.
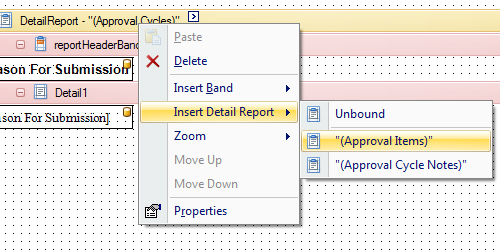
- Right click on the “Approval Cycles” band and select [Insert Detail Report], then [Approval Items]. This band can contain details such as the approver name, response, notification date, etc. This band will also contain a default table of fields.
- Remove any default fields that are not required. You can also edit this band with any additional fields required by dragging and dropping fields from the field list. These fields should be obtained from the “Approval Items” list available under “Approval Cycles”.
Continue adding fields until all required fields and labels are in place. If you have a lot of fields to add, you may wish to consider using a table to hold this information. You can find steps on how to use a table to hold data by clicking here.
- Click [File], then [Save].
Your report will now be available for selection when printing Document records and will show the entire document approval history.